Products
Solutions
Resources
9977 N 90th Street, Suite 250 Scottsdale, AZ 85258 | 1-800-637-7496
© 2024 InEight, Inc. All Rights Reserved | Privacy Statement | Terms of Service | Cookie Policy | Do not sell/share my information

InEight Report lets you subscribe users to different reports, which are saved as views for them to receive directly via email on a scheduled basis.
You must have a saved view to create a subscription.
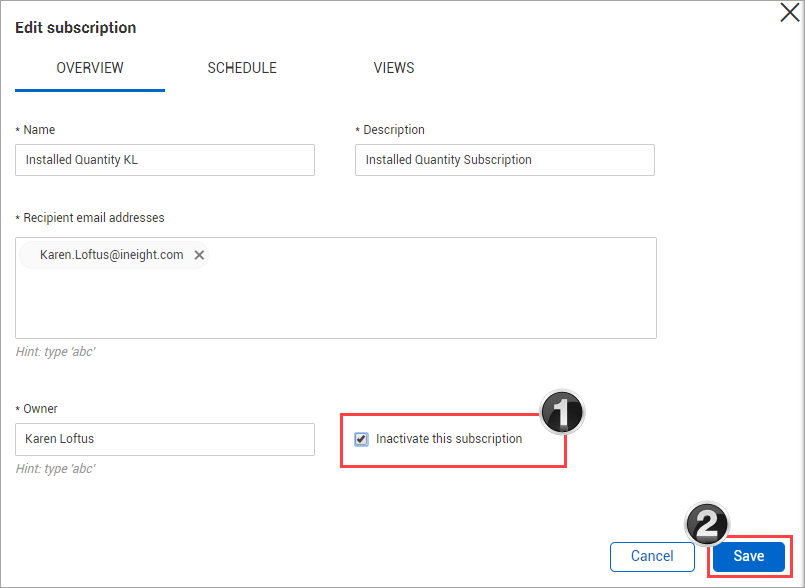
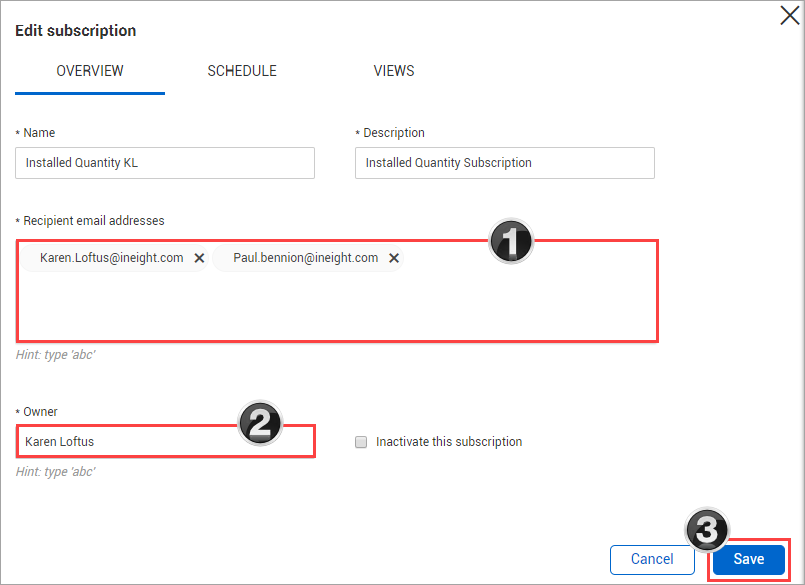
In the subscription overview:
In the Recipient email address field, type the email addresses of all recipients that you want to receive the report. As you type in an email address, a drop-down list shows user addresses in the InEight cloud platform. Select the recipient's email address from the list to include them. If the email address does not already exist in the InEight cloud platform, enter the recipient's email address, and then click Add.
Assign an owner to the subscription.
Select the Inactivate this subscription check box to suspend the subscription without having to delete it.
Click Next.
In the subscription schedule:
In the subscription views:
The subscription you created will show on the Subscriptions tab. Subscriptions also show in the My Views tab at the bottom of the page when you have a view selected.
Existing subscriptions can be searched for and inactivated, the owner can be changed if the current owner no longer needs it, or the subscription can be deleted altogether.
You must have the permission Edit all subscriptions to modify subscriptions for another user. To change the owner of the subscription, you must have the permission Change subscription owner.
If you no longer need to send out a report via subscription, but might need it later, you can remove the subscription by making it inactive. This is also helpful if you are setting up anticipated subscriptions for a project that might not be starting right away.
On the left toolbar, click the Edit icon.

In the Edit Subscription dialog box, select the check box Inactivate this subscription, and then click Save.
You can also delete the subscription. Select the subscription name, and then click the Delete icon.
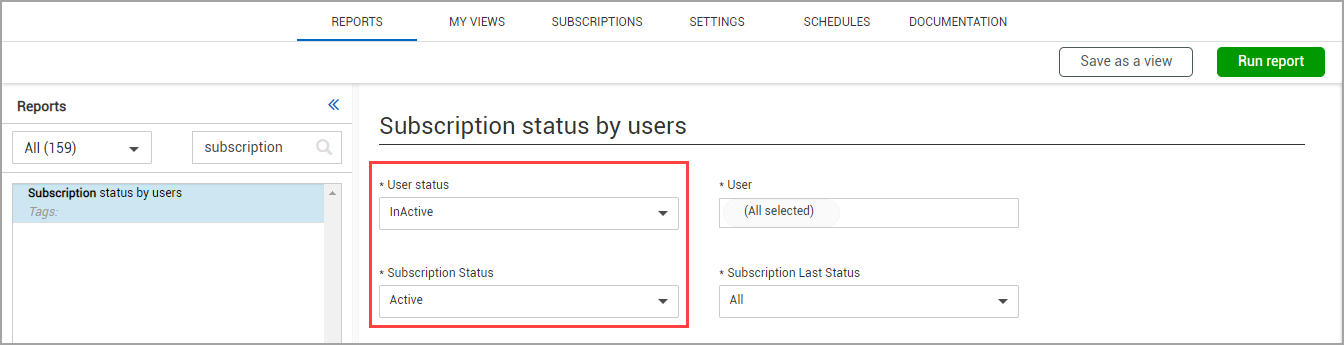
If you are receiving daily, weekly, or monthly reports you no longer need, you can easily rectify that. Running the Subscription Status By Users report makes it easy to identify reports you no longer need.
From the Reports tab, select the Subscription Status by User report.
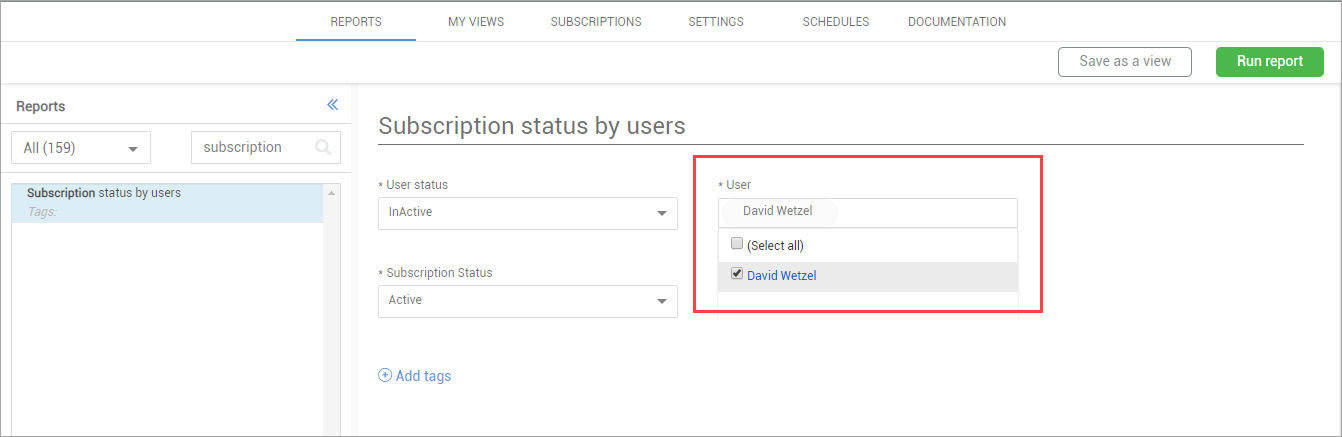
The Last status column provides a detailed message if an error occurred in the view when the subscription was last run (see the Last run date column). Click the status link to open the dialog box. The message shows the name of the view and a detailed description of the error when the status is either Failed or Partially Successful. You can then go to the My Views tab to correct any errors indicated in the invalid view.
A Partially Successful status occurs when a subscription is in multiple views but did not fail in all views.

Additional Information
9977 N 90th Street, Suite 250 Scottsdale, AZ 85258 | 1-800-637-7496
© 2024 InEight, Inc. All Rights Reserved | Privacy Statement | Terms of Service | Cookie Policy | Do not sell/share my information